
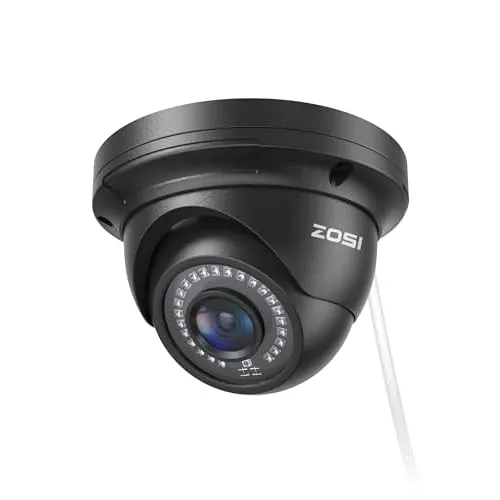
Add-on camera
5MP 3K Add-on PoE Dome
Four 5MP 3K add-on PoE domes for a ZOSI PoE NVR, with four Ethernet cables. 80ft night vision and IP66 housings.
Add-on camera
Four 5MP 3K add-on PoE domes for a ZOSI PoE NVR, with four Ethernet cables. 80ft night vision and IP66 housings.
Adding a camera to a ZOSI PoE recorder is often as simple as plugging in a cable. When it isn't, the fix depends on three things: what kind of camera you have, whether the recorder has room for it, and what the channel screen says once it's connected. So this guide works as a decision tree. Start at Question 1 and follow the arrows to your branch.
The steps come from ZOSI's help center articles for its PoE NVRs. Menu names can differ a little between recorder firmware versions.
→ A ZOSI PoE camera, such as the 5MP 3K Add-on PoE Dome or the C186 5MP PoE Audio Bullet. Go to Question 2.
→ A ZOSI WiFi camera. ZOSI's PoE NVR article notes that you still need an Ethernet cable to the recorder during the first setup. Connect it with a cable, then go to Question 2.
→ An analog HD-TVI camera on coax, like the 4-Pack 2MP HD-TVI Domes. Stop here: analog cameras record to a DVR, not an NVR. Our guide to NVR vs DVR and how many channels explains why the two can't be mixed.
→ Another brand's camera. This guide doesn't cover it. ZOSI states that its own add-on cameras work only with ZOSI PoE NVRs, so ask ZOSI support before planning a mixed system.
The channel count is the most cameras a recorder can run. An 8-channel NVR with eight cameras is full.
→ No free channel. The camera can't be added until one is freed up. If you're short of space, compare the 16-channel recorders in our ZOSI NVR Security Kits.
→ Yes. Go to Question 3.
→ Yes. Follow Branch A.
→ No. Follow Branch B.
Then check the channel:
→ Picture, or a status of "Connect success": finished.
→ The channel says "Network unreachable": go to Branch C.
→ The search list is empty: go to Branch D.
The camera can still join, as long as it's on the same network as the recorder. ZOSI's help center is direct about this: cameras that aren't on the same local network as the NVR won't show up in its scan list and can't be added automatically.
→ Added: finished. → "Network unreachable": Branch C. → Nothing found: Branch D.
This usually means the camera is connected but not paired with the recorder. ZOSI's fix is called Match Code:
If the camera still doesn't appear, contact ZOSI support through its help center before you start swapping cables.
| What you see | What it usually means | Where to go |
|---|---|---|
| A picture on a new channel | The NVR added the camera on its own | You're done |
| The camera shows in the search list but has no channel | It was found but not added | Branch A, step 4 |
| "Network unreachable" | Connected, not paired | Branch C |
| An empty search list | NVR network setting, or the camera is on another segment | Branch D |
| "Connect success" | Paired | You're done |
| Every channel already in use | The recorder is full | Question 2 |
The 5MP 3K Add-on PoE Dome is the simplest way to fill a free channel. It runs on one Ethernet cable, records 5MP 3K video, has infrared night vision up to 80 ft and an IP66 rating, and comes in 1-, 2- and 4-packs, so you can match the pack to the channels you have free. Viewing and alerts run through the free ZOSI Smart app or AVSS Client without a subscription.
The C290 4K 8MP PoE PT (2-Pack) adds two pan-tilt cameras that pan 360° and tilt 140°. Each one uses its own PoE port, so you need two free ports and two free channels. One detail to check first: ZOSI says humanoid tracking needs NVR firmware v2.0.8 or later.
For a fence line or the end of a driveway, the C186 bullet adds a narrower view with two-way audio. More choices sit in ZOSI Dome & Specialty Cameras and ZOSI Bullet Cameras & Kits.
Before you buy, it's worth deciding where the new camera goes. Our guide on how to plan security camera placement walks through that, and the ZOSI review sums up every ZOSI kit and add-on in one place.